Pilot-RC Electric Starter Motor for FG-90R3/FG-84R3
Additional Images:
![]() Click On Images to Enlarge
Click On Images to Enlarge
Overview
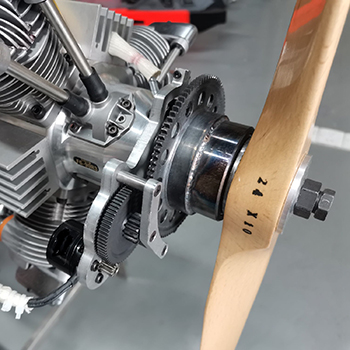
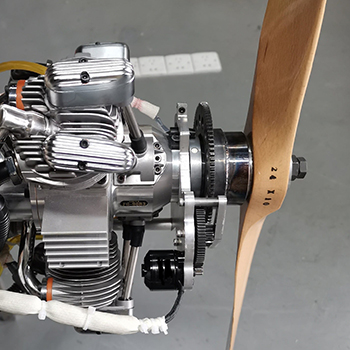
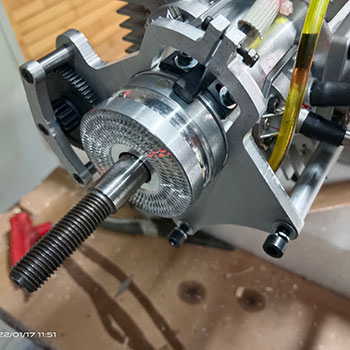
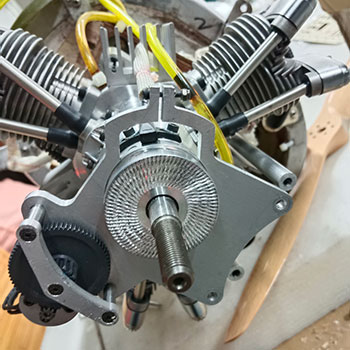
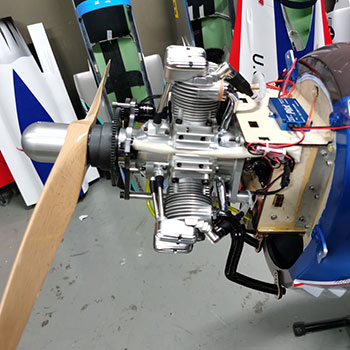
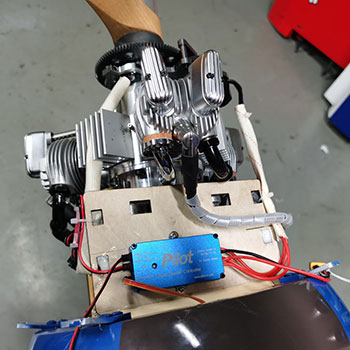
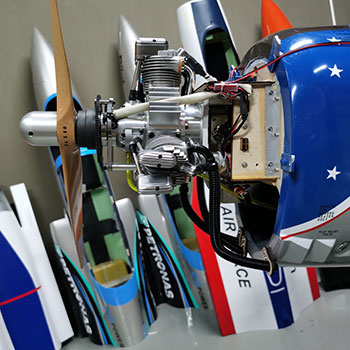
Designed for use on the Saito FG-84R3 and FG-90R3 radial gas engines, allows for fast and easy auto-starting through an onboard starter motor setup.
Will also work with a number of other engines, and can be adapted if necessary. Contact us for your specific needs.
Runs from a single +2.200mAh 3S Lipo pack, and includes all the necessary electronics to get the system working. The controller unit allows control over the starter motor, and also a separate kill switch to power your engines ignition (starter motor and engine ignition each run their own independent batteries)
The overall system increases your engine’s weight by 700g which is often beneficial to achieving the correct center of gravity when used is most warbirds.
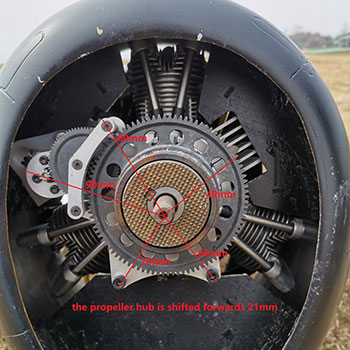
Once mounted, the propeller hub is shifted forwards by 21mm.
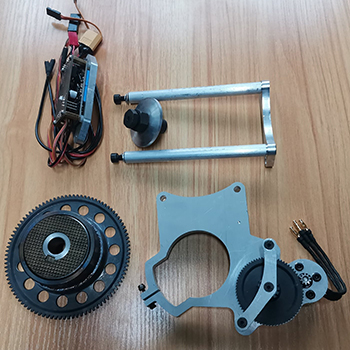
Includes:
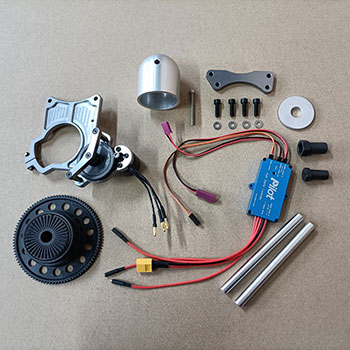
- Starter motor with gear reduction
- Prop hub gear
- Mounting bracket
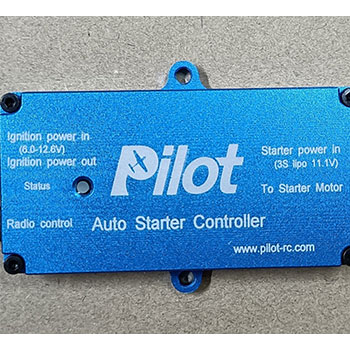
- Controller unit
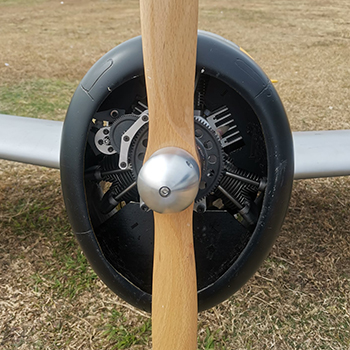
- Aluminium spinner for Pilot-RC P47D
Installation:
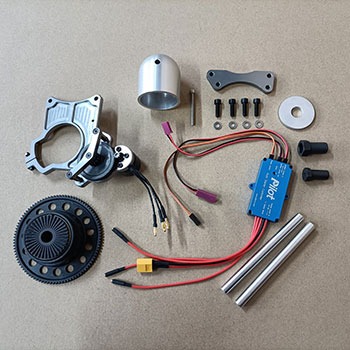
1. Familiarise yourself with all parts as shown in the first picture below
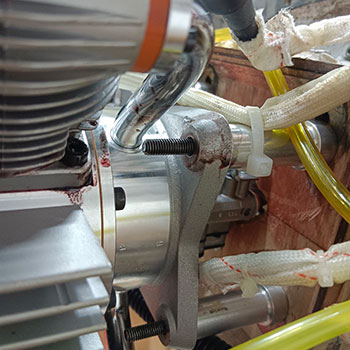
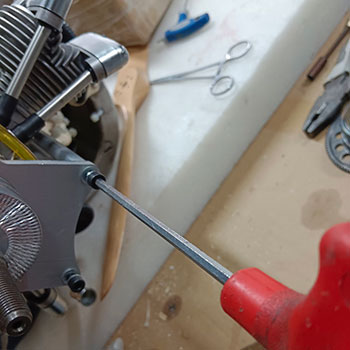
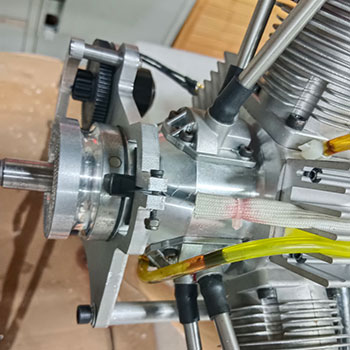
2. Install your engine to the firewall, assuring to use extra long bolts on one side, as they will hold the mounting bracket. Attach the mounting bracket and secure in place.
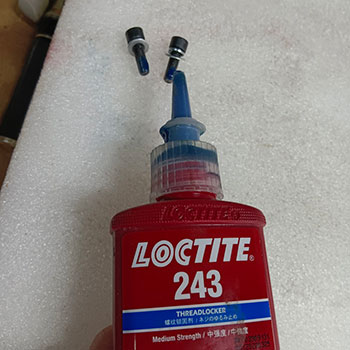
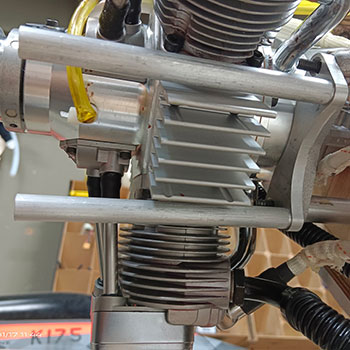
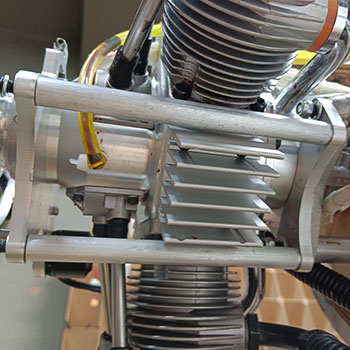
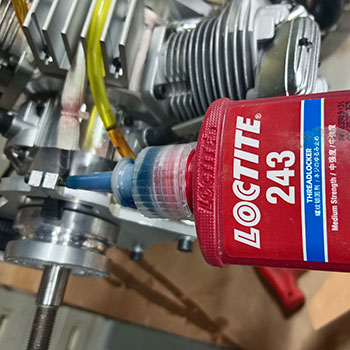
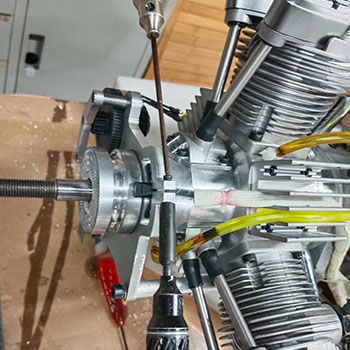
3. Attach the two starter supports (tubes) to the mounting bracket, make sure to secure in place with Loctite.
4. Slide the motor mounting bracket over the engine, and secure to the two supports (tubes) installed in the previous step, again using Loctite.
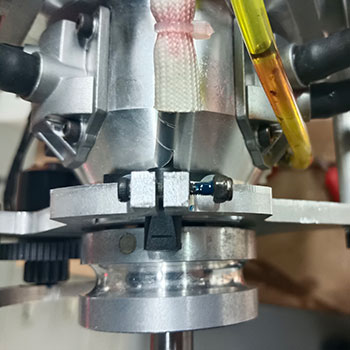
5. Clamp the motor mounting bracket to the engine using the integrated nut and bolt
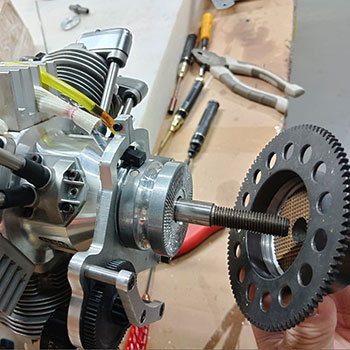
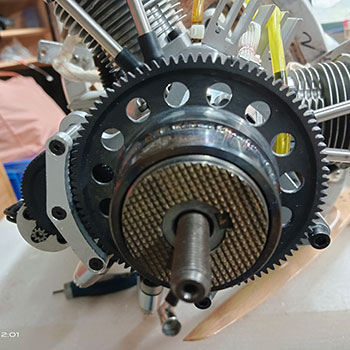
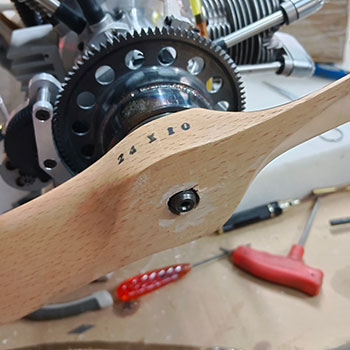
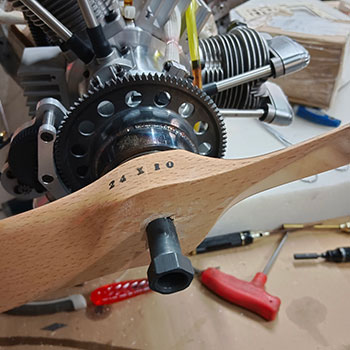
6. Slide the main gear over the prop hub
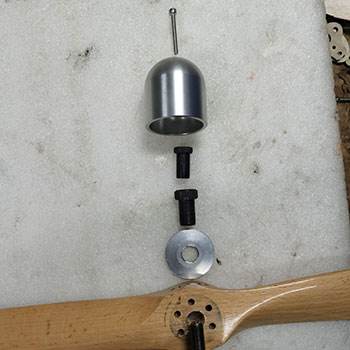
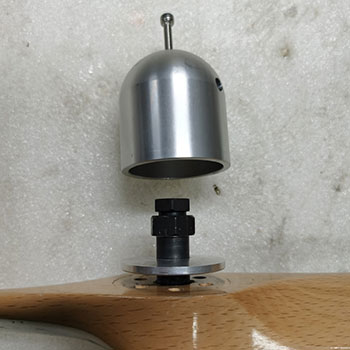
7. Slide on the prop, and secure using the provided dual locking accessories, in the order shown in the pictures below
8. Setup of the starter motor in the radio requires end points to be increased to +-120%
Wiring diagram for the Pilot-RC Auto Starter Controller:

Video:
Pilot-RC: Auto Starter Motor

Order Code: PIL704
Manufactured By Pilot-RC

